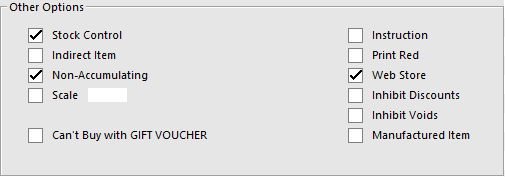
Stock items will only appear on the Webstore if they have been flagged within the Idealpos database as a Web Store item. These items will then be included in the file requested by WebIT however depending on the web developers use of the XML file will determine the items that actually display online.
Go to File > Stock Control > Stock Items > Modify > General tab > Other Settings > Web Store.
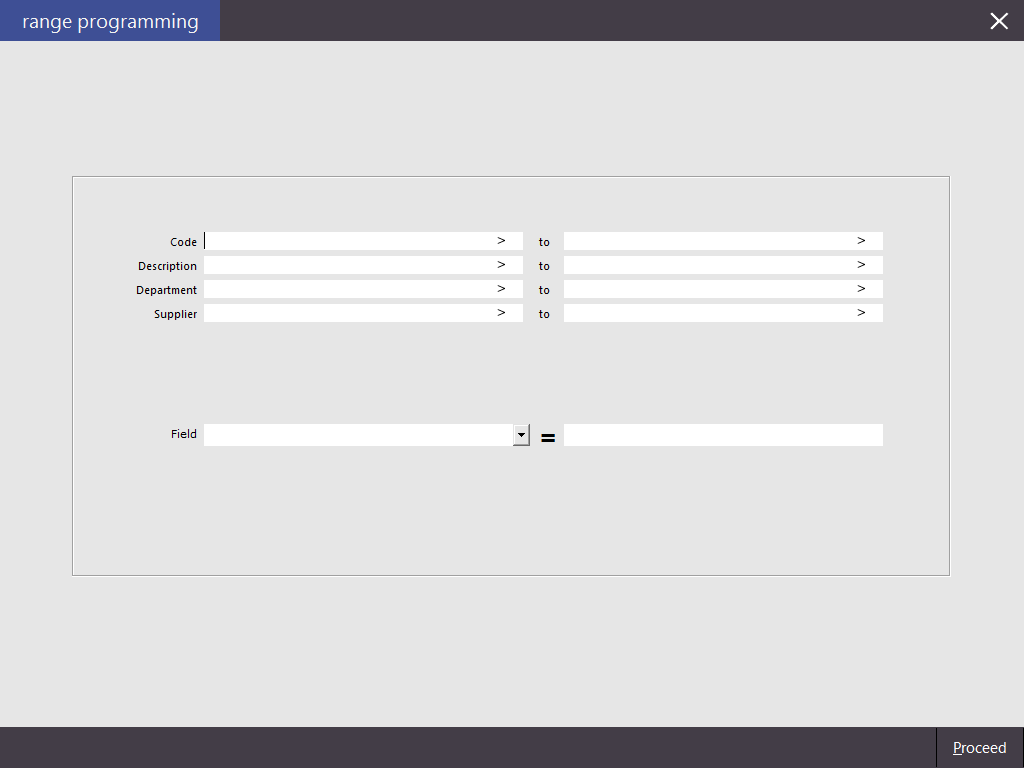
It is possible to select multiple items using the Range Programming function.
Go to Utilities > Range Programming > Stock Items.
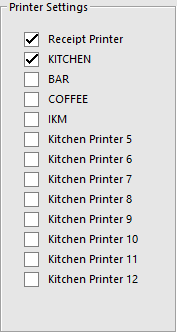
Any printer configurations on each stock item will be recognized and used as the printer settings for Web Orders. Orders will be printed automatically as soon as an order is received into Idealpos.
You will also need to create a stock item that is used when the item purchased through the website no longer matches an item in your store. This stock item should be called something that will be noticed by staff, e.g. “Unknown Item”.
As sales are processed into Idealpos, they need to be assigned a clerk for the creation of the sale. This clerk is then used to create the Pending Sale.
Go to Setup > Clerks > Add.
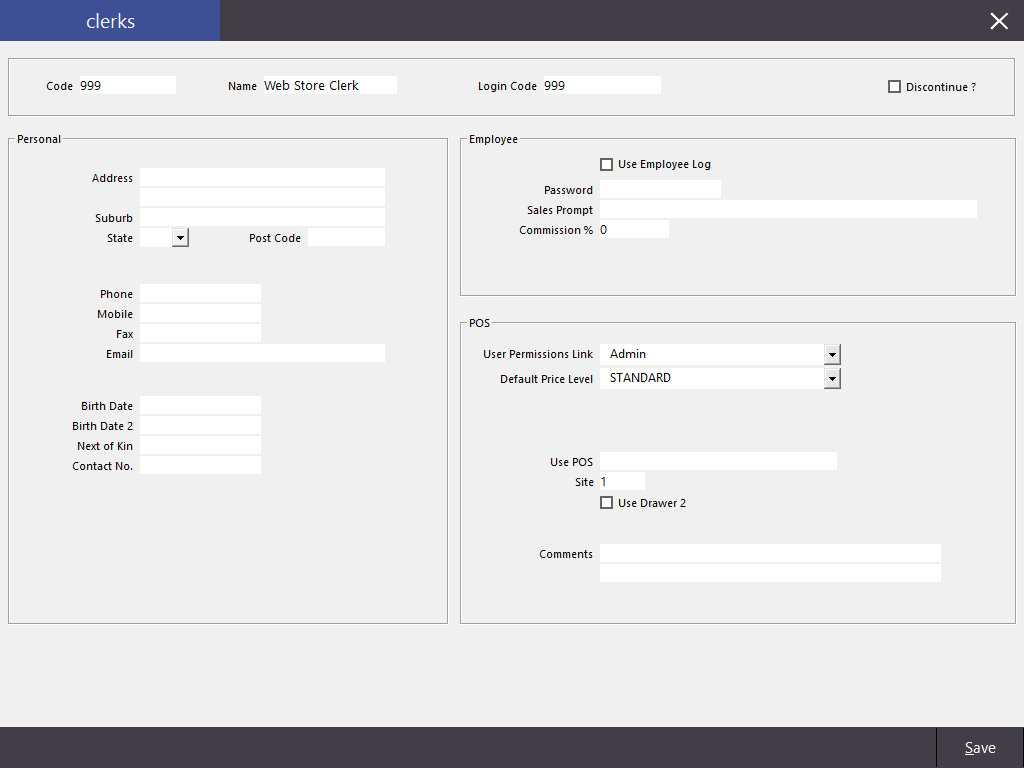
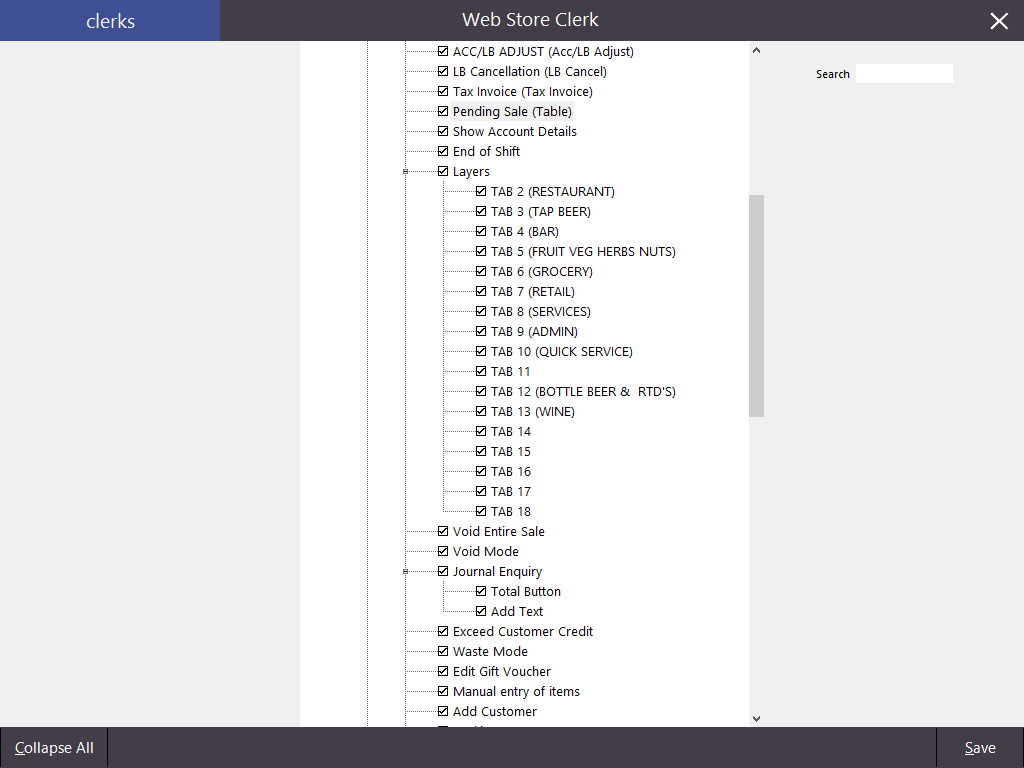
On the permissions tab you will need to ensure that the clerk has been checked to allow for using Pending Sales. This setting needs to be checked if the clerk is linked to a User or on the Permission Tab.
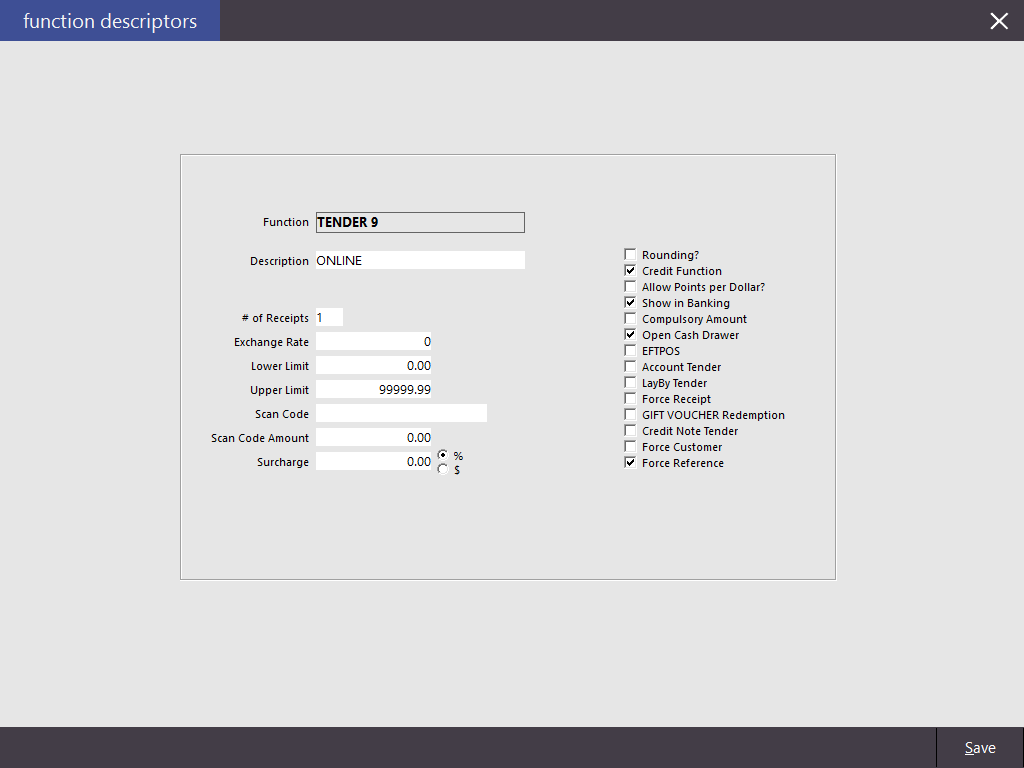
A tender will need to be created to link any sales and is then configured in Global Options.
Go to Setup > Functions > Modify a Tender > Rename it and Save.
Global Options is where all the other settings will be used to configure how the orders will behave when bought into Idealpos.
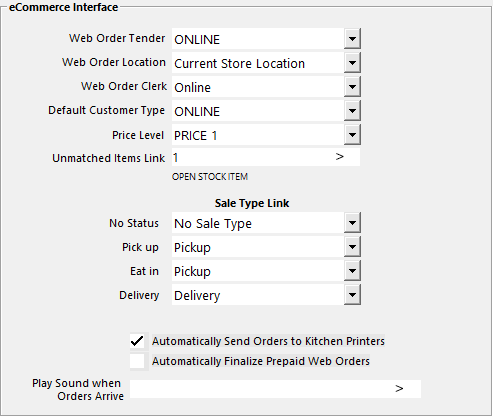
Go to Setup > Global Options > Interfaces > eCommerce > eCommerce Interface.
Web Order Tender - Select a Tender that will be used if the customer pre-paid their order.
Web Order Location - Select a Location where the stock will be decremented from.
Web Order Clerk - Select a Clerk that will be used to post the sale into POS.
Default Customer Type - This is the Customer Type that all new Customers will be added to.
Price Level Link -Select from the drop-down menu the price level that you want associated with orders that are placed via eCommerce.
Unmatched Items Link - If an item is available on the website but not in the Idealpos database, it will link to this item. The description of the Stock item selected will be displayed. If this field is left blank, Idealpos will print out a description only, but this cannot be tracked.
Sale Type Link - Select from the drop-down menu the Sale Type you want associated with the status used for each order.
Check Box - Automatically Send Orders to Kitchen Printers will send the sales to the kitchen printers.
Check Box - Automatically Finalise Prepaid Web Orders will not display as a pending order (PAID Status) and a kitchen docket will print.
Play Sound when Orders Arrive - Browse to a location of a .WAV file which will play on all terminals set to receive POS notification when a Web Order is received.
Each terminal connected on the network will be able to see the Web Orders via a small blue button at the top of the POS Screen which will display the total number of orders in the system.

The numerical value will flash when there are orders to be finalized, or if there are no orders, there will be no button at all.
You can inhibit certain terminals from displaying the notifications, go to Setup > Yes/No Options > POS Screen > Inhibit Web Orders Button.

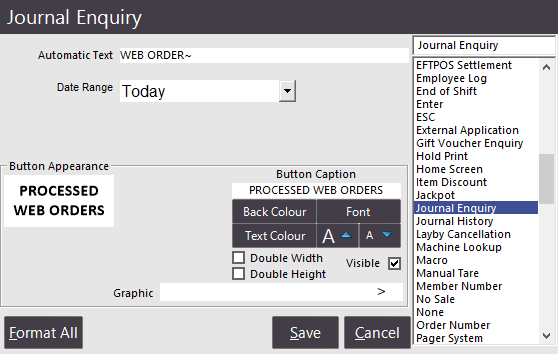
You can create a button that will show you the processed web orders over a date range. The button is a Journal Enquiry button programmed to only show Web Orders.
Automatic Text – Enter WEB ORDER~ to allow the function to search for orders containing this text.
Date Range – Select from the drop-down menu a date you would like to be displayed when the button is pressed.